Quick and dirty setup for ascending and descending a fixed instructor´s rope.
Use the gear you already have, to work efficiently on the wall.
This blog was not supposed to be about technical stuff. No gear tests, kilo-Newtons, knots, or steel alloy classification. There´s enough of that on the www already. But I plan to make exceptions now and then, for either of two reasons: because I want to discuss the truth (or untruth) of something we often teach, or because I want to highlight techniques practical in the instructor´s daily work. In this case, it is the latter.
Whenever we have climbers on the wall, we like to have at least one instructor there - to teach, goad, double-check, and provide safety backup. We want to be able to move both up and down, and sometimes even sideways if we are supporting two climbers. What is a good way to achieve this?
 |
| My buddy Martin (center) during an exam. Note the instructor on the right and his setup. |
There are many solutions, the most obvious one being to ascend the rope on jumars using regular big-wall technique. This, however, is gear-intensive, slow going up, and even slower going down. It may be the best solution for steep climbs, but these are less common when instructing. Personally, I only bought jumars after fifteen years of instructing, and that was only because I started teaching aid-climbing. This is probably true for a lot of young instructors.
Therefore, I propose a more light-weight method, using cheaper and more commonly available equipment. So, for the first time ever on this blog: here is a short video!
In summary:
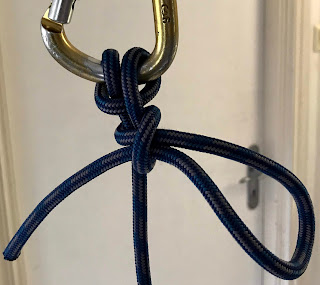
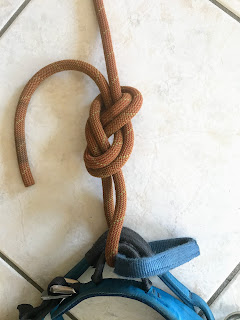
- Put the a grigri-like device on the fixed rope (preferably a static one).
- Attach an ascender or rope clamp (any type) above the grigri.
- Take the rope at the passive side and loop it through a screw-gate carabiner attached to the ascender.
- Pull on the rope coming from the ascender, while giving yourself a little push with your feet and hips.
This setup allows you to give yourself a 3:1 theoretical advantage (in reality, friction eats up a lot of that). You can free-climb and just take up slack on the grigri. You can also pull on the rope coming from the ascender, using your feet for an additional push whenever possible. If it gets steep or slippery, connect a 120 cm sling (or adjustable aid ladder) to the ascender and use this to stand on.
It´s not rocket science. The setup is simple, and yet very safe. The whole system depends on the well-proven track-record of the grigri (or similar device). Remember, if you want to work hands-free, make sure you have a backup knot not too far below you!
The greatest advantage, apart from simplicity, is the ease by which you can now move downwards. For a short drop, just leave your ascender in place and descend on the grigri. Make sure you have plenty of rope, since it now runs three times between you and the ascender. If you are done and heading all the way down for a coffee break, first remove the ascender and take if with you.
Note: Rope access workers and arborists will have other techniques, but more importantly, they will have dedicated equipment. The method described here is useful mainly because it requires so little in way of specialized gear.

Comments
Post a Comment